
David Cohen - 1957 Mercedes-Benz 300SL Coupe Gullwing
The Salon Privé Concours d’Elegance is hailed as one of the finest concours competitions yet. This year, the 11th annual event, Concours d'Elegance has seen some of the world's rarest and most alluring cars on the lawns of the prestigious Blenheim Palace in Woodstock, held on the 1-3 September 2016.

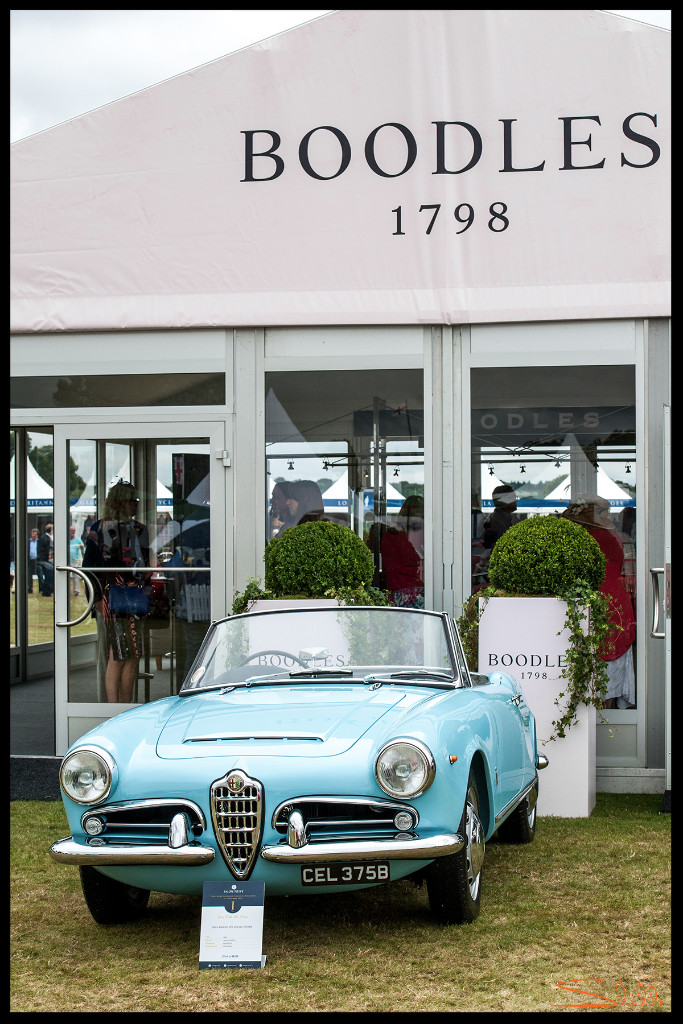
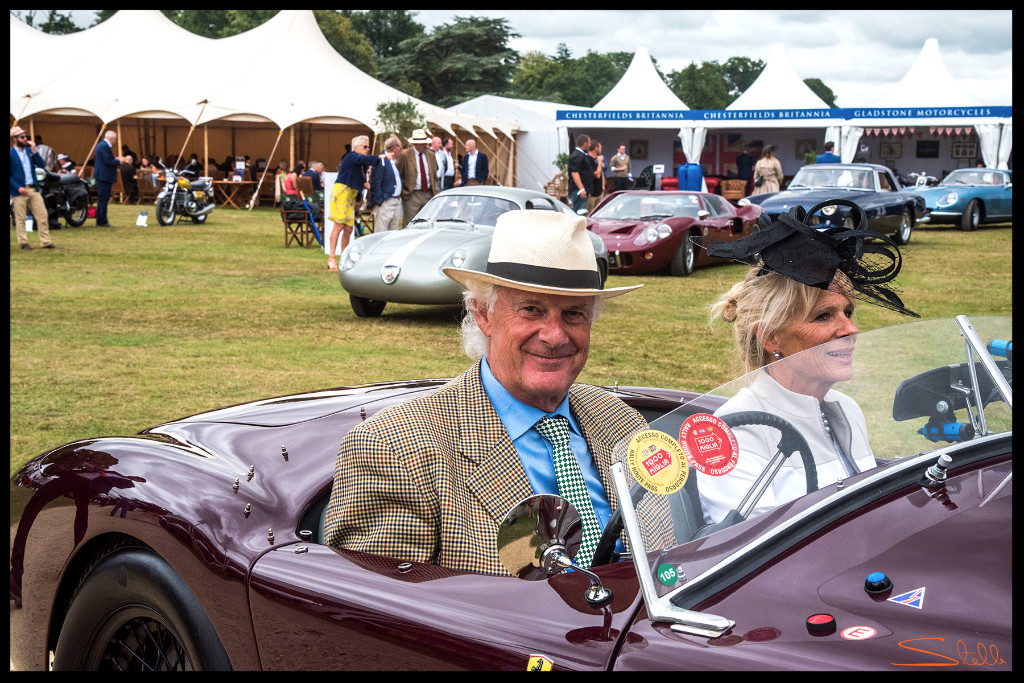
Boodles Ladies' Day Pass
I had the pleasure of attending Boodles Ladies' Day on Friday 2nd September and quickly immersed myself amongst the stunning selection of more than 75 cars and bikes on display. We were treated to a wonderful Champagne lobster luncheon, English afternoon tea and complimentary bar, the perfect setting for a thoughtfully presented exclusive event.

Closest to Furthest - Ferrari F50, Ferrari F355, Lamborghini Countach, Ferrari 458 Specialé, R35 Nismo Nissan GT-R GT3, BMW Z4 GTE

Lamborghini Huracan Spider (Left) Lamborghini Huracan (Right)
1964 Alfa Romeo 101 Giulia Spider

Tom Hartley showcasing some top class stock; Ferrari Dino (Left) Ferrari 275 GTB (Middle) and Ferrari F50 (Right)
The best bit for me was watching, photographing and hearing the commentary for the Concours d'Elegance event, the judging for which had taken place the previous day.

1955 AC Ace
Mark Aldridge - 1955 AC Ace
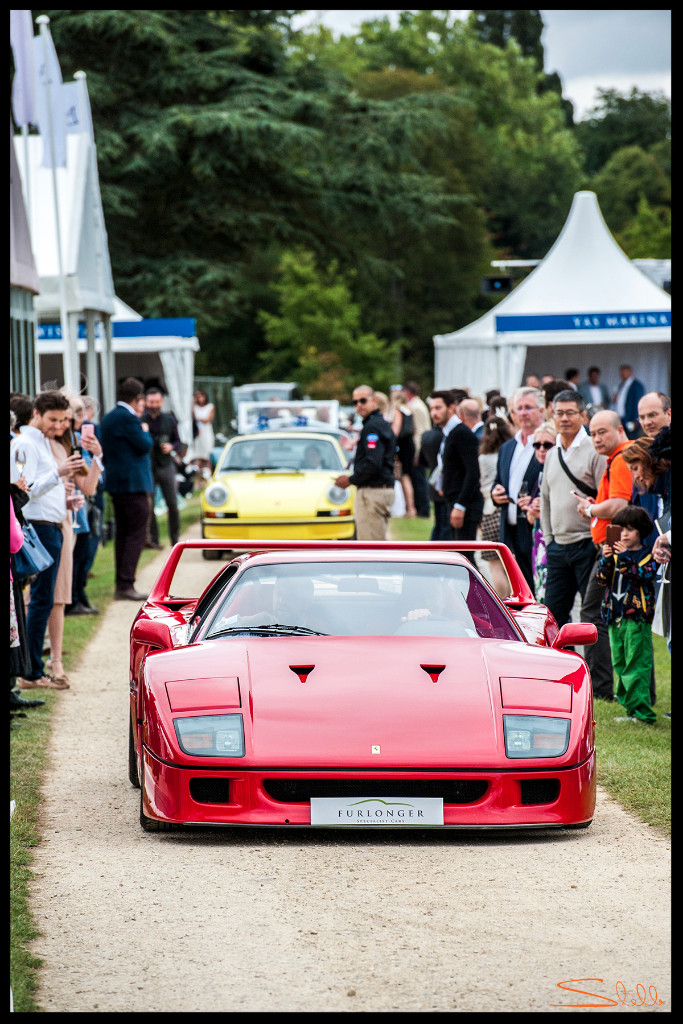
Ferrari F40

1973 Porsche 2.7RS Touring

1969 Ferrari 365 GT 2+2

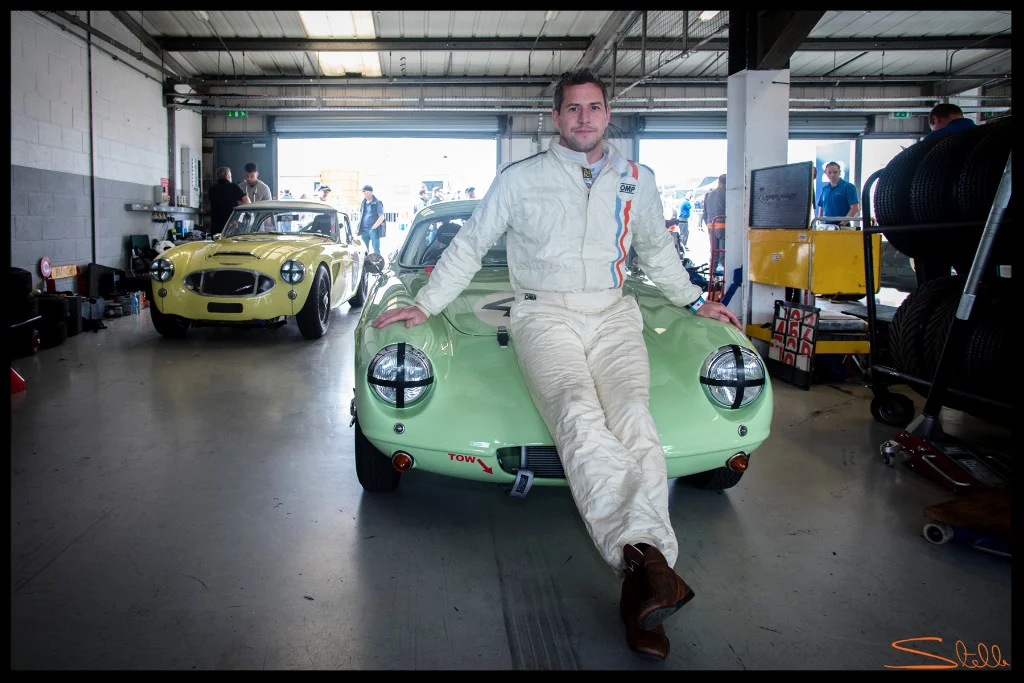
Me at work, not my usual attire!
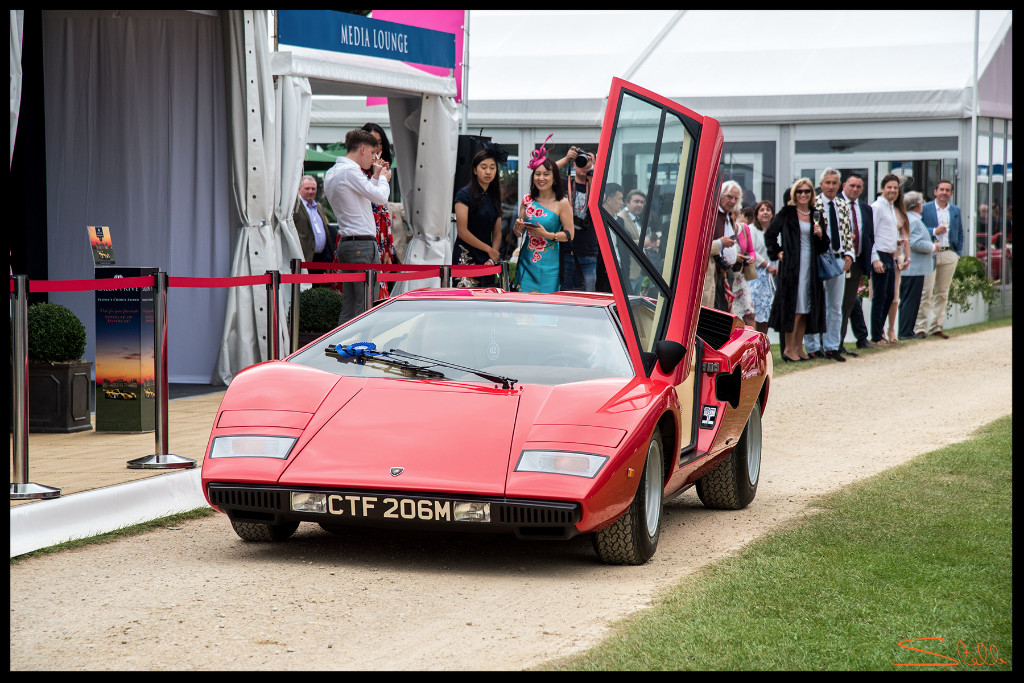
1973 Lamboghini Countach LP400 ' Periscopio'

1953 Ferrari 250 Europa Short Chassis Prototype - Winner 'The Great V12 Ferraris' category

Entered by Nick Bailey, this 1992 Ferrari F40 won the 'Dream Machines' category

1954 Maserati A6 GCS Berlinetta - Winner 'People's Choice Category'
This 1956 Ferrari 500 Testa Rossa fended off rivals to steal the 'Best of Show' Salon Privé 2016 winner.

Winner 'Best of Show' Salon Privé 2016
Taking 8 years to find and 2 years to restore, it made its post restoration debut at the 2015 Goodwood Revival Meeting.
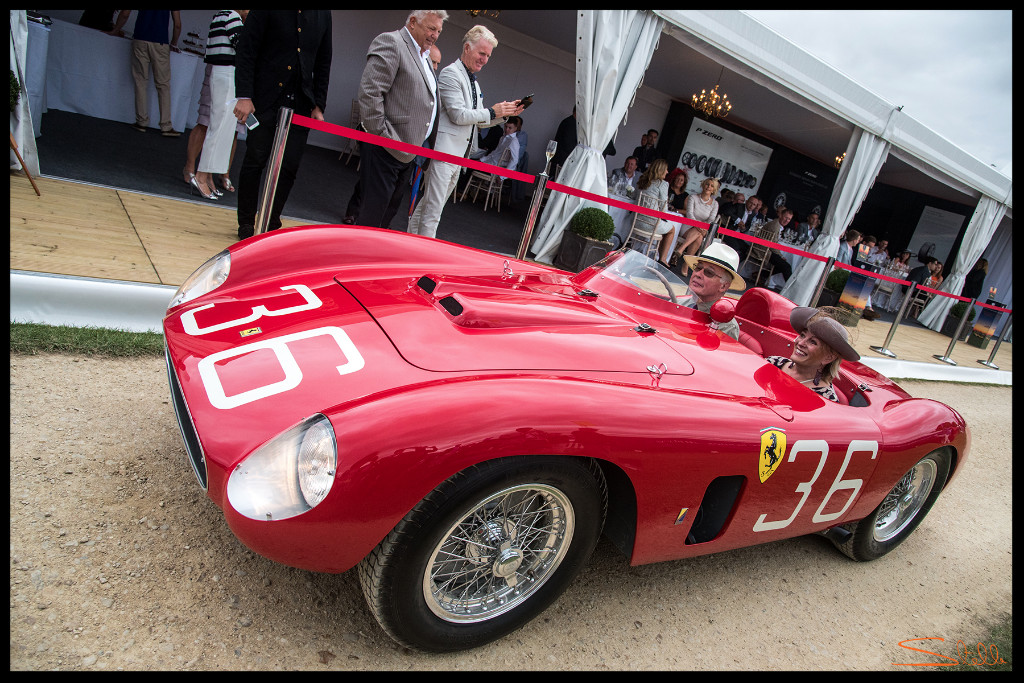
1956 Ferrari 500 Testa Rossa

1973 Porsche 2.7RS Touring (Left) 1969 Porsche 911 (Right)

1969 Porsche 911 - Runner Up Trophy, finished third
This 1965 Chevrolet Corvette Stingray C2 sold for £60,750 in the Silverstone Auction on Saturday 3rd September at Salon Privé.

1965 Chevrolet Corvette Stingray C2

Leaving Salon Privé on the majestic grounds of Blenheim Palace, until next year
Thanks for reading, I'll be back soon with more news from my world of cars and photography.
Bye for now.
Stella